Never Get Caught Without It: Why Homemade Self-Rising Flour is a Kitchen Essential
Picture this: You’re half an hour into preparing a batch of fluffy biscuits or a delicate cake, flour dusting your countertop, butter softened and ready, and then it hits you. The recipe calls for self-rising flour, and your pantry shelf is conspicuously bare. Panic sets in. A quick trip to the store feels like an eternity, threatening to derail your entire baking endeavor. Sound familiar?
Fear not, fellow baker! This common kitchen predicament has an incredibly simple and satisfying solution: making your own self-rising flour. Far from being a complex culinary feat, creating this versatile ingredient at home requires just three common items you likely already have on hand. It’s a kitchen hack that not only saves the day in a pinch but also empowers you with control over the freshness and quality of your ingredients. Whether you're whipping up classic Southern biscuits, a light quick bread, or tender scones, knowing how to make self rising flour can be a true game-changer, ensuring you never have to pause a baking project again.
What Exactly is Self-Rising Flour? Unpacking the Mystery
Before we dive into the "how-to," let's demystify self-rising flour itself. At its core, self-rising flour is simply a convenience product: all-purpose flour that has already been perfectly pre-mixed with a leavening agent (baking powder) and a touch of salt. This ingenious combination means that when a recipe calls for self-rising flour, you don't need to add separate baking powder or salt, simplifying the baking process and ensuring consistent rise and flavor.
The leavening agent, baking powder, reacts with moisture and heat during baking, producing carbon dioxide bubbles that cause your baked goods to rise, creating that light, airy texture we all love. The salt enhances flavor and also helps to control the leavening process. This pre-mixed nature is particularly beloved in Southern cuisine, where it’s a staple for everything from flaky biscuits and cornbread to pancakes and various quick breads. Many commercial self-rising flours, especially those popular in the South, are made from lower-protein soft wheat, which contributes to a more tender crumb in baked goods. However, for homemade versions, standard all-purpose flour works beautifully, offering excellent results for most recipes.
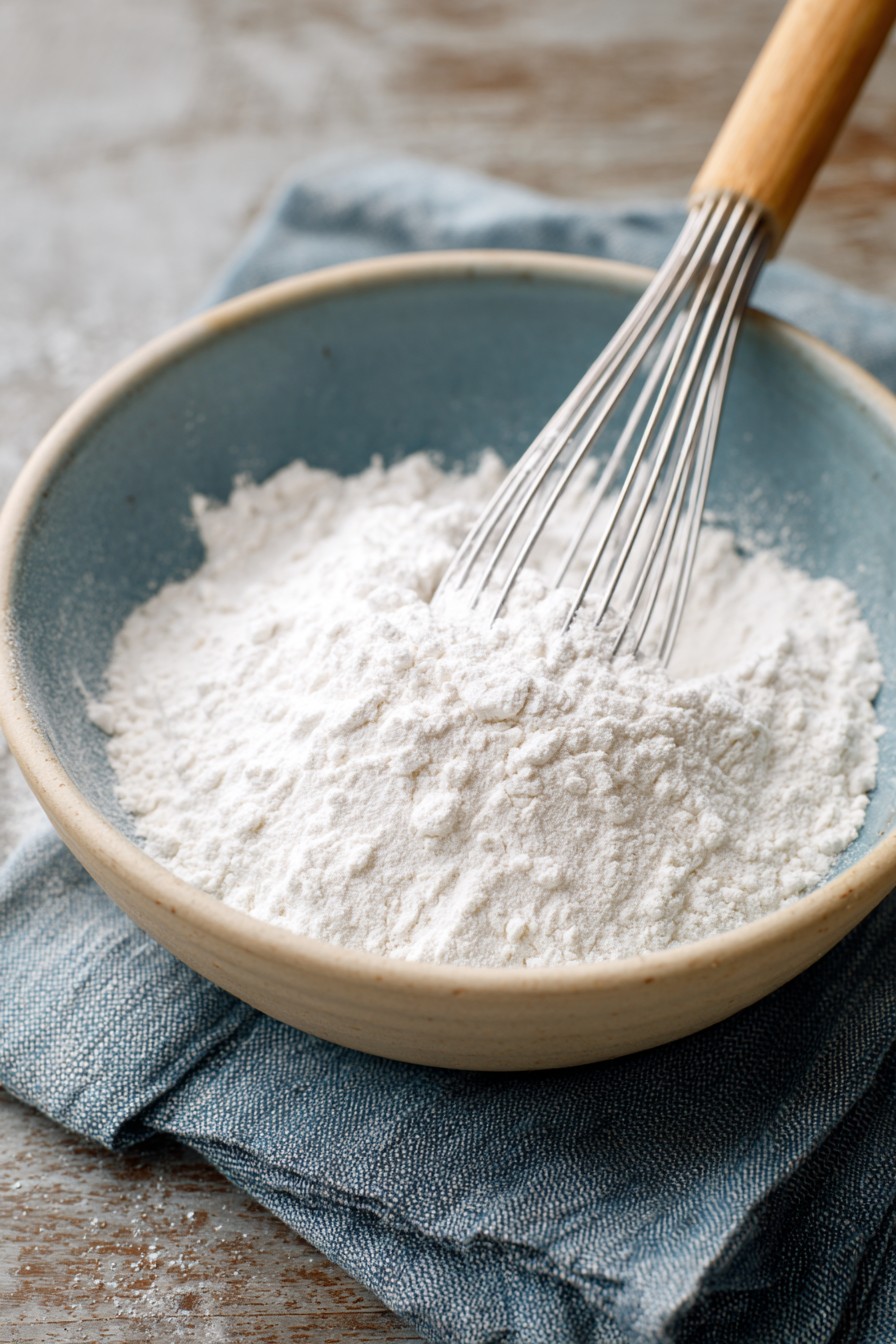
Your Easy 3-Ingredient Recipe: How to Make Self-Rising Flour at Home
The beauty of homemade self-rising flour lies in its simplicity. You truly only need three pantry staples. Say goodbye to emergency grocery runs and hello to instant baking gratification! Here's your essential guide on how to make self rising flour:
Ingredients You'll Need:
- All-Purpose Flour: The foundation of your mix.
- Baking Powder: The crucial leavening agent that makes your baked goods rise.
- Fine Salt: Enhances flavor and works with the baking powder.
The Ratios and Steps for Success:
For every cup of all-purpose flour, you'll generally use the following proportions. This ratio is widely accepted and delivers reliable results:
For 1 cup of Self-Rising Flour:
- 1 cup (120g) All-Purpose Flour
- 1 ½ teaspoons Baking Powder
- ¼ teaspoon Fine Salt
Instructions:
- Measure Your Ingredients Accurately: Grab a large mixing bowl. Using precise measuring cups and spoons, carefully measure out your all-purpose flour, baking powder, and salt. Accuracy is key here, especially for the leavening agent.
- Combine Thoroughly: This is arguably the most crucial step. You want to ensure the baking powder and salt are perfectly and evenly distributed throughout the flour.
- Method 1 (Whisking): Add all three ingredients to your large mixing bowl. Using a whisk, vigorously whisk the mixture together for at least 30-60 seconds. Make sure to scrape the bottom and sides of the bowl to catch any clumps.
- Method 2 (Sifting): For an even finer and more uniform blend, especially if making a larger batch, sift the flour, baking powder, and salt together through a fine-mesh sieve into your bowl. Sifting not only combines but also aerates the flour, which can lead to lighter baked goods. Repeat the sifting process 2-3 times for optimal distribution.
- Immediate Use or Proper Storage: Your homemade self-rising flour is now ready to use in your recipe! If you've made a larger batch to have on hand (which we highly recommend!), transfer it to an airtight container.
It's really that simple! In just minutes, you've created a fresh batch of DIY Self-Rising Flour: Your Easy Guide to Fresh Baked Goods, ready for your next baking adventure.
Mastering Homemade Self-Rising Flour: Tips for Success and Variations
While the basic recipe for how to make self rising flour is straightforward, a few expert tips can elevate your homemade version and ensure optimal results every time.
1. Freshness is Non-Negotiable
The single most important factor for successful homemade self-rising flour is the freshness of your baking powder. Baking powder loses its potency over time, and using an expired or stale batch will result in flat, dense baked goods, no matter how perfectly you measure or mix.
- How to Test Baking Powder: To check if your baking powder is still active, add about half a teaspoon to a small bowl and pour ¼ cup of hot water over it. If it fizzes vigorously, it's good to go. If there's little to no reaction, it's time for a new container.
- Shelf Life: While homemade self-rising flour can technically last for about six months due to the baking powder, we recommend making smaller batches more frequently. This ensures maximum freshness and leavening power for the best rise in your baked goods.
2. The Importance of Even Distribution
We can't stress this enough: thorough mixing of the baking powder and salt into the flour is paramount. Uneven distribution can lead to some parts of your dough rising beautifully while others remain flat, creating an inconsistent texture. Whisking vigorously or sifting multiple times truly makes a difference.
3. Storage Savvy
If you're making a larger quantity of Homemade Self-Rising Flour: A Lifesaving Kitchen Staple Guide, proper storage is key to maintaining its potency.
- Airtight Container: Always store your mix in an airtight container to protect it from moisture and air, which can degrade the baking powder.
- Cool, Dry Place: A pantry or cupboard away from heat and direct sunlight is ideal.
- Label Clearly: This might seem obvious, but it's easy to mistake a jar of homemade self-rising flour for plain all-purpose flour. Label your container clearly with "Self-Rising Flour" and the date it was made. This prevents accidental substitutions in recipes that don't call for it, which could lead to disastrously over-leavened results.
4. Scaling Up for Convenience
If you're an avid baker, you might find it beneficial to prepare a larger batch. Simply multiply the ratios accordingly. For example, for 4 cups of self-rising flour, you would use 4 cups all-purpose flour, 6 teaspoons baking powder, and 1 teaspoon salt. Just remember our storage tips!
5. Experiment with Flours (with caution)
While all-purpose flour is the standard, you can experiment with other types.
- Whole Wheat Flour: You can substitute whole wheat flour, but be aware that the higher protein and fiber content will result in denser, heavier baked goods with a distinct nutty flavor. You might also need a tiny bit more liquid in your recipe.
- Gluten-Free Flour Blends: If using a gluten-free all-purpose blend, ensure it doesn't already contain a leavening agent or xanthan gum. The results may vary in texture and rise compared to traditional wheat flour, as gluten plays a significant role in structure.
Self-Rising Flour FAQs: Your Burning Questions Answered
Can I use self-rising flour in place of all-purpose flour?
Generally, no, not without significant adjustments. If a recipe calls for plain all-purpose flour and separate leavening agents (like baking powder or baking soda) and salt, using self-rising flour will likely lead to an excessive amount of leavening and salt. This can cause your baked goods to rise too quickly and then collapse, or have an unpleasantly salty, metallic taste.
Is self-rising flour the same as cake flour?
No, they are different. While some commercial self-rising flours (especially Southern brands) are made from soft wheat, which is lower in protein, they are not identical to cake flour. Cake flour has an even lower protein content (around 7-8%) specifically milled to create a very tender, delicate crumb in cakes. Self-rising flour has a slightly higher protein content (typically 8-10%) and the added leavening. You wouldn't typically substitute one for the other directly without adjusting the recipe.
Can I use baking soda instead of baking powder in this recipe?
No, you cannot. Baking soda requires an acidic ingredient (like buttermilk, lemon juice, or vinegar) to activate and produce carbon dioxide bubbles. Baking powder, on the other hand, is a complete leavening agent, containing both an acid and a base, so it only needs moisture and heat to activate. Substituting baking soda would result in baked goods that don't rise properly and might have a soapy taste due to unreacted baking soda.
What if my recipe calls for self-rising flour, but I only have plain flour AND baking soda (not baking powder)?
If your recipe *specifically* calls for self-rising flour and you only have plain flour, baking soda, and a source of acid (like buttermilk), you might be able to create a substitute. However, this is more complex. For every cup of self-rising flour, you'd substitute 1 cup all-purpose flour, ½ teaspoon baking soda, and then ensure your recipe includes enough acidic liquid (like ½ cup buttermilk or yogurt). This is a more advanced substitution and generally less reliable than using baking powder.
Conclusion
The next time a recipe calls for self-rising flour and your pantry shelves are bare, you can confidently bypass the grocery store. Armed with the knowledge of how to make self rising flour from scratch, you possess a simple, effective, and incredibly convenient kitchen hack. This method not only guarantees you'll always have this versatile ingredient on hand but also gives you greater control over the freshness and quality of your baked goods. Embrace the ease, enjoy the savings, and delight in the superior taste of treats made with your own perfectly blended, homemade self-rising flour. Happy baking!
